Tag Archives: sewing

Jedi!

9 Oct

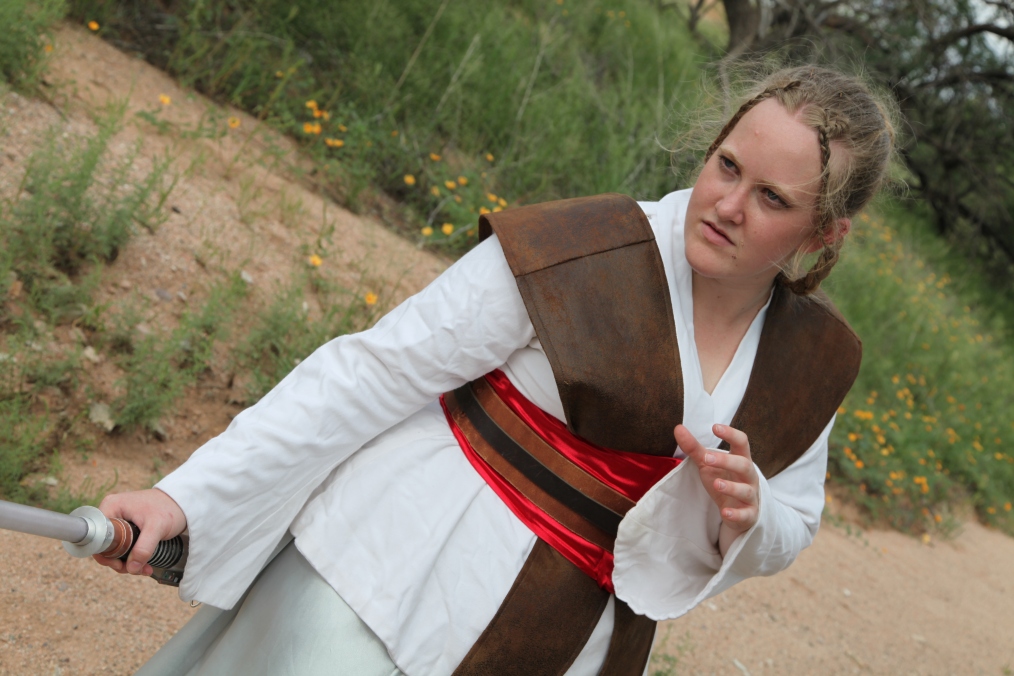
Jedi are AWESOME! From their lightsabers to their awesome robes, they are awesome. 

Just think how awesome you will be as a Jedi this Halloween.


Image


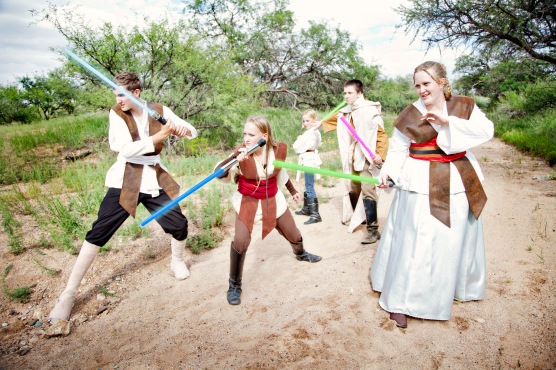
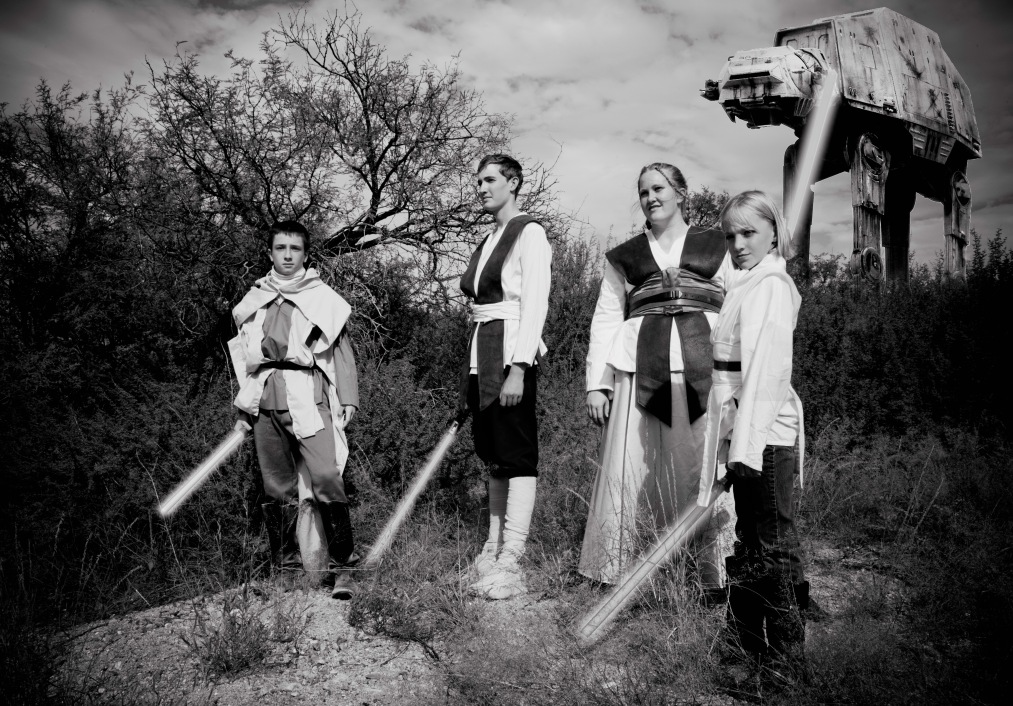
For $100, you can have your own, tailor-made Jedi for Halloween this year and years to come. High quality work from experienced seamstress Tabitha, your costume will be a big hit for years to come. 

Image

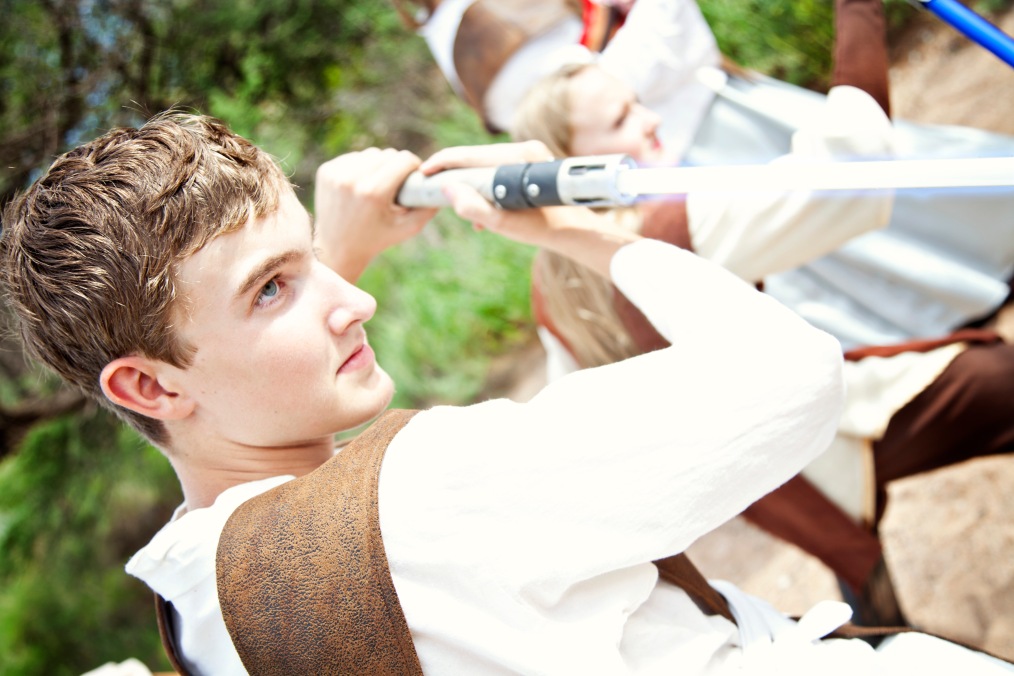
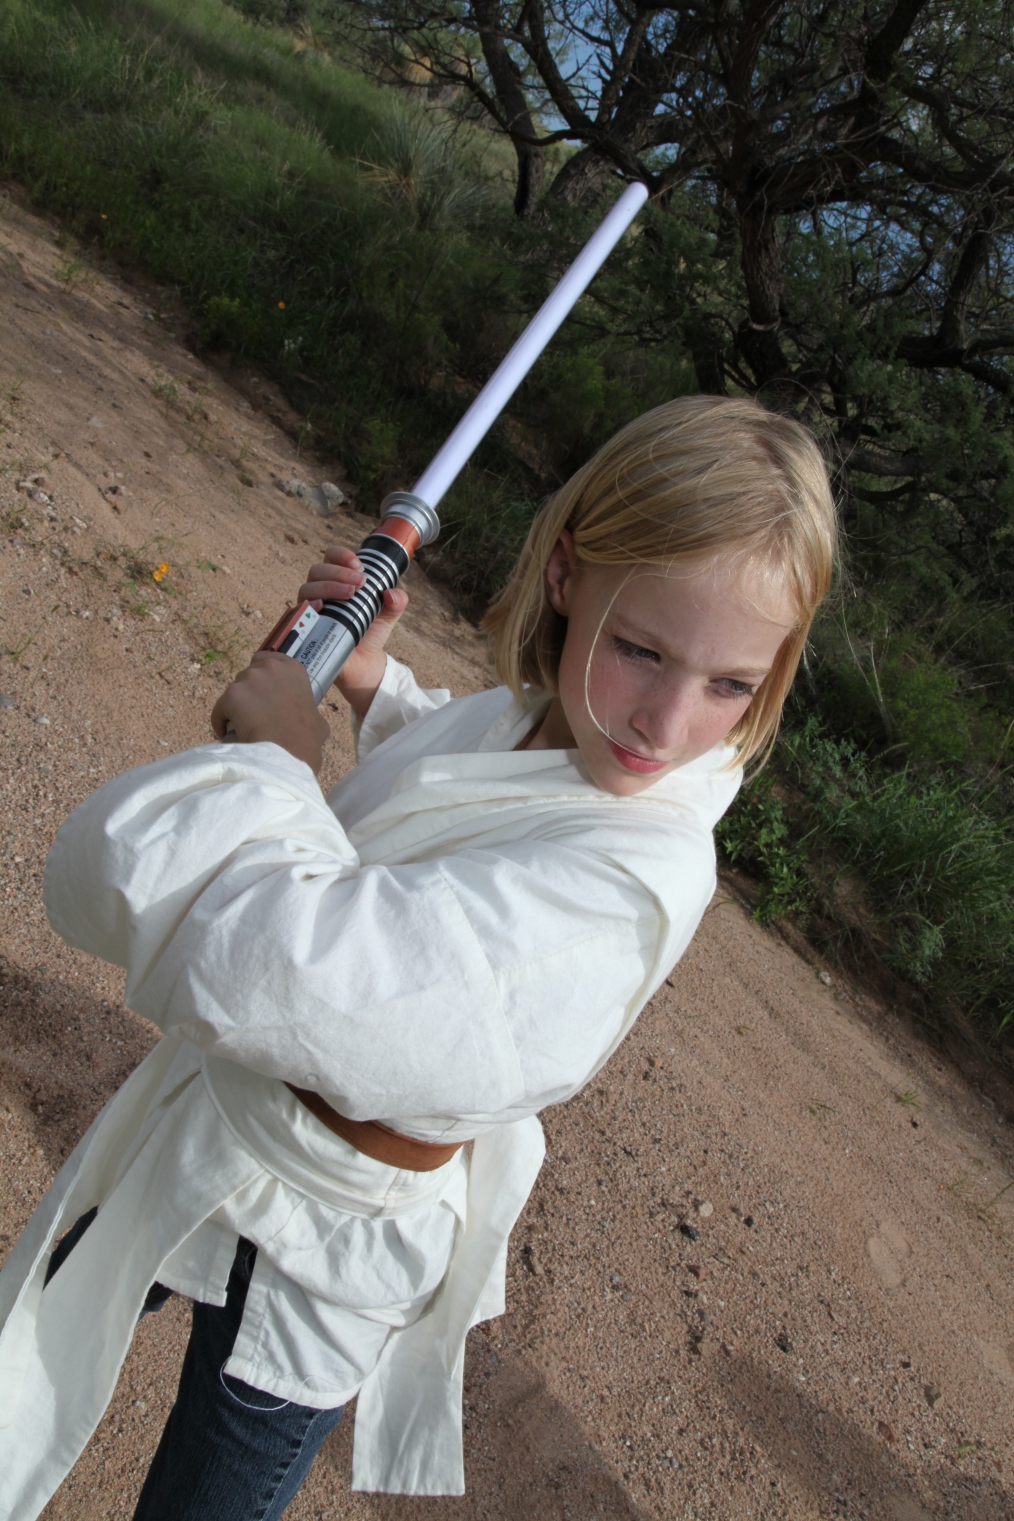
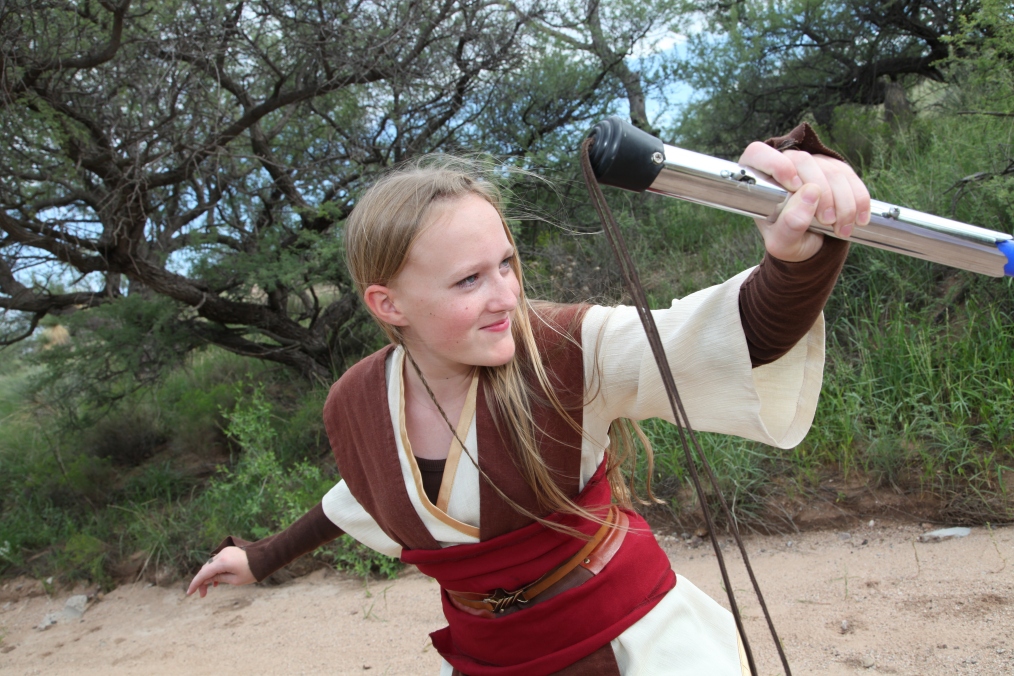
Costume peices include the Jedi Tunic, Obi (cloth belt), and Tabbards. These can be customized as you choose. Add in a skirt or pair of pants, leather belt, boots, and a lightsaber, and you have a Jedi. 

Image

Email Tabitha at azdreamproductions@gmail.com to commission your Jedi. Do it soon. Commissions need to be received by October 19th to be ready by Halloween. Tabitha takes commissions year round as well. 

Image

All costume pieces are Rebel Legion approved. 

Image

Photos by Adelyn Photography, copyright 2012

Picnic Padme: Complete! (for now)

3 Oct

This post is months over due. I was so happy to have my beautiful Padme outfit completed just in time for my friends Alex and Kate’s wedding. It was a wonderful wedding and I’m so happy I was able to attend and it was so much fun to wear my pretty dress to it.

TADA!

The outfit actually turned out pretty well.  The skirts and top I had alot of trouble getting the right color and they still aren’t quite the right color.  When I applied for the Rebel Legion with this outfit, I was told the corset was too dark. That is one way of looking at it 😛 . I lean more toward the skirts and top are too light. They also don’t have the embroidery they should have, but that is because I didn’t do it before I sewed everything together (kinda forgot about it 😛 ). I would LOVE to remake the skirts and top in silk chiffon, cus I think they would take the dye better.  That or find a way to dye the nylon of the shawl a color like a poly chiffon I can get at Joann’s.

The shawl isn’t too bad, but it’s not as full as I would really like and the flowers really are too big.  Since i have not yet found a good fabric for the shawl, I would probably have to hand embroider the whole thing, so I have not yet worked on it.  I have a pattern for the roses, but i have not started testing it yet.

So pretty! The roses added SO much!

Beautiful finished corset 🙂 . That I am pretty happy with for sure. I am tempted to make another one and straighten out the embroidery (it’s not quite centered), but that is minor 🙂 .

The bun covers I made with some yarn we had laying around. I found some other yarn we have that is thinner and more metalic, and I’m tempted to make another set of covers with that. But these do work. The headband I kinda threw together the night before the wedding, so it’s not the best, but it’s also not the worst 🙂 .

It was worth it all

With all the imperfections, the dress is still awesome and I’m so happy to have finished it 🙂 .

Update on Picnic Padme Corset

19 Mar

Current Progress on the Embroidery

I finished all the satin stitch embroidery! YAY! Now I am working on the gold outlining on the corset.  It will take some time, but looks SO good!  I can hardly wait to finish it!

Finished daisy embroidery

Very beginning of the gold outlining.

After I finish the corset, I will start working on the shawl/cape and make the skirt and top.  For the shawl, to start off I’m going to use offray ribbon roses to mark the placement of the flowers and then do the vineing that connects them.  My sister will be helping me with figuring out the placement and such.  I’m not sure how I’m going to do the vineing, but that is for a later date to stress over :).  Then after the vineing is complete, I will slowly start replacing the ribbon roses with embroidered roses that I do by hand.  My first embroidered roses will be on the corset, so I will have some practice :).

Padme Battle Gown – Costume Progress

16 Mar

So several months ago I was commissioned to make Padme’s Handmaiden battle outfit from Episode I.

Image taken from Padawan's Guide

Currently I have made it through the shirt and the bodice of the coat. And I have the pants all cut out.

The shirt was fairly simple, just a long sleeve knit shirt with lots and lots and LOTS of pin tucks across the chest and around the arms. The hardest part on the shirt is doing the pin tucks. But they aren’t that hard.

Pin tuck glory

From my research, I decided that the tucks, which are in groups of three, are 1/4″ tucks spaced at least a 1/2″ apart. And then the groups of three are seperated by 2″.

Front pin tucks

Lots of tucks in there 🙂

The coat is a little more complicated, yet very, very simple. It has four pieces: the Front, the back, the sleeves, and the skirt. Very simple. But it is also fully lined. The coat fabric is a velveteen and the lining is traditional lining fabric, slippy and slidely and all lining 🙂 . Lining fabric is wonderful to wear, because it is slipply and all that stuff, but it can be REALLY hard to work with.


The red lining

The beautiful, slippy red lining

However, even with how fun it is to work with, the lining and the velveteen worked together really nicely. And bodice looks BEAUTIFUL! I’m so pleased with how it is turning out!

Bodice in all it's velvet glory

Compare these two images of the sleeve.  Isn’t it turning out beatiful?

Compare! Taken from the Royal Handmaiden Society Episode I Gallery

Ready! Aim! FIRE!


Padme Battle Costume – Pants and Shirt

25 Jan

The other half of the Padme Battle for Naboo costume is what is under the coat.  The pants and shirt complete the outfit.  The pants are fairly simple.  Just a pair of at least calf length velvet/velour pants with gold trim down the sides.

I chose to use a simple pull on pants pattern for the pants, sewing down the elastic in the front so that the front is smooth while the back has fulness.  Since the back is never seen under the coat, I think it will work.

Front of the pants
Back of the pants

And then because the costume has tall boots and it’s hard to keep pants tucked into boots, my thought is to have a knit running down the bottom of the pants, between the velveteen and an elastic band around the foot.
Foot strap

And the shirt. The shirt front has pin tucks across the front and let me tell you, those are a pain in the neck to put into a knit fabric. I’m not totally happy with the final result, but I currently have the body of the shirt completed, with three sets of three tucks.

Next, the sleeve 🙂

New Costume – Padme’s Naboo Battle Outfit

17 Jan

The Queen of Naboo has returned and is prepared to take back her planet. And to do that, she needs a dashing, marroon velvet coat with matching pants and coordinating shirt. Not to mention boots and belt.

This is the latest costume I’ve been assigned to make. And this costume is amazingly (and deceptivally) simple, while at the same time being extremely challenging.

The first part of the costume is the fabric: The coat and pants should be made from a velvet or velveteen, something with little to no stretch and a nap. This is what makes her gown so beautiful and dark and simple. Ideal, since the handmaiden shouldn’t outshine the queen. I chose velveteen, because it’s less expensive, but still beautiful. I purchased 6 yards of marroon velveteen from Joann’s.

The coat is lined with a red, satiny looking fabric. I decided to just use lining fabric, rather then use an actual satin. Maybe one day I’ll do one with a light satin, rather then lining fabric. I’m using 5 yards of red, cling-free lining fabric from Hancocks.

The shirt I decided was a knit fabric, like any regular tee-shirt (kinda). I got 3 yards of red knit fabric from Joann’s.

The first thing I had to draft for the coat was the sleeves. They are the most beautiful things in the movie, all full and drapy. Unfortunately, Natalie rarely lifts her arm to the full width of the sleeve. My mother finally found a picture of her with the arm straight out from the shoulder and we discovered that the sleeve is a half circle, when spread out flat. So when she raises her arm to shoulder height, the sleeve spreads out flat, but still rests aganist her side.

From the Handmaiden Society

So that took some effort to that sleeve to look right, but I think I didn’t too bad.

That’s the muslin without the skirt, just the bodice and sleeves 🙂 .

Because the bodice is velvet and a dark velvet at that, it’s really, really hard to see if there are any seams or darts in the front of the coat. I would guess there would be, but there might not be. However, because of the fit, I kinda think there are a few darts, just simple ones, though. Most of it will depend on how it fits the girl it’s intended for, though. It’s more important to me that the bodice fit properly rather then not have darts. And if they are done well, they should not be visible.

Oh, and the bodice needs a collar. Preferable, you should use coat patern that already has a high neck or collar. I didn’t 😛 so I ended up draping a collar of sorts on. I think what I did will work.

Not sure if you can actually see it, but that’s kinda what I did (what a MESS!). It looked better before, but what it turns out as is a collar with a high back and a slope down to the front where it hooks shut.

The skirt of the coat is simple, just a half circle with one end open and sewn to the bodice.

My version

I love this outfit and can’t wait to feel comfortable enough to make one of my own 🙂 .

Meet Sunny

30 Nov

Sunny:

Sunny is my personal duct tape dummy.  I decided recently that I should have a duct tape dummy for learning how to drape and to make sure my costumes fit right and just to make my clothes.  I was inspired to make it recently to test the making of one for one of the Susan dresses I’m making.

It was an experience and I’m very glad we did it.  I now know that having people making dummies like these for when I make them a costume is going to be really helpful, especially if they stand with proper posture when it’s made.  Proper posture is really helpful.  I didn’t stand properly when mine was made, so it doesn’t look like me.  And my mom didn’t pull it tight enough.  But it was a learning experience.  I think I’ll wait till I lose 5 or so inches and then make another one 🙂 . But for $15 and four hours of work I get a custom fitting dummy.

I used this tutorial for the making, if you want to make your own: http://diyfashion.about.com/od/diyfashiontoolkit/ss/Duct_Tape_Dummy.htm

Costumes – Completed

9 Nov

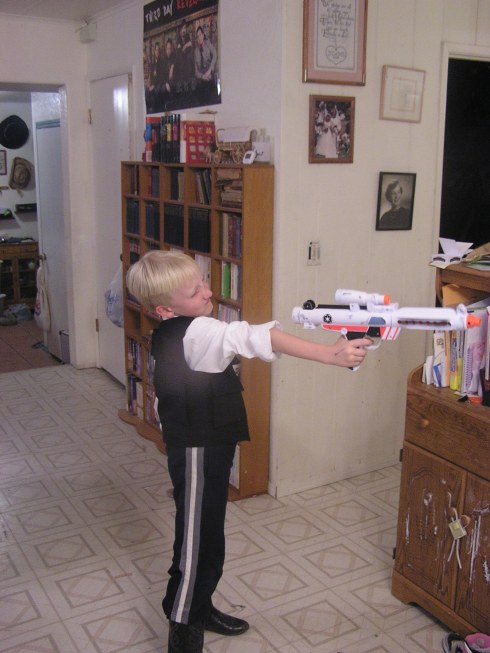
Halloween has come and gone.  All the candy, the excitement, and the costumes 😛 .  If you recall (and even if you don’t), I was making some costumes for my younger siblings: Han Solo, Luke Farm boy, and a Mirkwood Elf.  After a good deal of work and pain, I actually got them completed, along with a set of Jedi robes for myself.  Since I last posted about costumes, I also completed a classic Leia gown.

So, pictures 🙂 .

Recreating the original artwork pose

My farmboy

Ain't he handsome??

You don't mess with the Han 😉

My Nabooian Jedi, stage 1

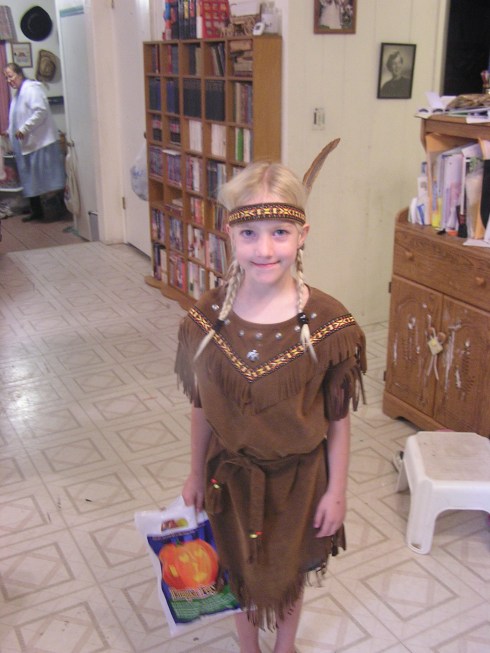
And the other kids had costumes too, but I didn’t make them.

The Indian maid. Mom made this costume.

Lady Luck in all her glory. She made her costume, with some help from Mom.

The dreaded Alley Cat

And someone will think I’m crazy, but there is this musical called “Romeo et Juliette: De Haine de A’lmour” which is about Romeo et Juliette and one of the dancers/background singers has this totally cool costume that I’m going to make some time 🙂 .

This is a costume from a musical that I can't wait to make.

So yep.  And I’ve been slowly work on a Susan dress for a girl, and I really need to finish it.  Right now I’m stalling cutting out the lining and modesty top for it.  I need to just do it 😛 .

Star Wars Costume WIP – Classic Leia

30 Sep
I have ALWAYS loved Leia’s classic white senator gown and I finally have the inspiration to make it for Benson’s Butterfield days!   That’s in two weeks, but I think I’ll have this done in plenty of time.  I might even have boots at that time 🙂 .
Anyway, I’ve ordered a bolt of White Jet Set from Joann’s and as long as it comes through properly, I should have the fabric in a week.  So, I don’t get to start on the dress for a while :P.  So in the meantime I’m going to work on the belt and get it done and ready for the dress.
My belt is going to be white matte vinyl with aluminum plates and sliver button cover bumps.  I’m not exactly sure how accurate this is, but that’s what’s been recommended vie the Rebel Legion forums and from people who have had this costume approved with this stuff, so I think it will be fine 🙂 .
Today I get some white matte vinyl from Joann’s and three packs of button covers.  The button covers have these things in poking out of their backs, kinda like a shank button, so I think I’m going to poke holes through the aluminum and vinyl and use either wire or thread to attach the aluminum and button covers to the belt.  I might also use thin strips of leather or vinyl.
Right now I’m at my biggest and looking to a day to be smaller 🙂 , so right now I want this belt to be such that I can easily take the metal pieces off when I remake the belt.  Unless they turn out just horrible and I want to make new ones 🙂 .
I’m going to cut out my belt and at least one doll belt tonight and get the aluminum tomorrow and hopefully by Monday I’ll have a completed belt to show you guys 🙂 .

Today I get some white matte vinyl from Joann’s and three packs of button covers.  The button covers have these things in poking out of their backs, kinda like a shank button, so I think I’m going to treat them like Benae Queen did and use either wire or thread to keep them on the back of the belt.  I might also use thin strips of leather or vinyl.
Right now I’m at my biggest and looking to a day to be smaller 🙂 , so right now I want this belt to be such that I can easily take the metal pieces off when I remake the belt.  Unless they turn out just horrible and I want to make new ones 🙂 .
I’m going to cut out my belt and at least one doll belt tonight and get the aluminum tomorrow and hopefully by Monday I’ll have a completed belt to show you guys 🙂 .

Costumes – Drafting and Muslins

28 Sep

Today I decided to work on my siblings costumes, since they want them for Halloween and it’s only a month away now (really, is it that close.  Then that means Christmas . . . nope, not going to think about THAT!).  So today while the kids did schoolwork, I drafted their patterns and cut out muslins.  They were the interesting part of my day.  I’ll rant about the boring/frustrating part in an different post :).

Anyway, if you will recall, my 13 yr old bro is getting a Luke Tattoine costume.  The biggest things I have to do for this costume is make a tunic and attach semi-matching puntees to a pair of shoes.  The tunic looks very, very much like a Jedi’s over tunic.  Since I happen to be making one of those too, I decided to use the pattern for me and just sew the sides straight (rather then with hip curve 😉 ) and give it straight sleeves.  And it works pretty good.  Since I’m cutting a new muslin for my Jedi tunic, I used my old muslin and adapted it for the Luke Tunic.  After sewing the sides and sleeves straight, I got the results below.

(he is wearing a baseball belt because this boy doesn’t own a real belt)

My Luke 🙂

Other then straightening the sleeves and sides, I also shortened the sleeves because they were WAY too long.  But now I know what to do for him, so next is to find some fabric that will work for the outfit.  Time to search the Rebel Legion forums and bug the experts on this costume about fabrics 🙂 .  The pants and shoes I’m going to get from a thrift store or from stuff we have, since he is still growing and it’s not likely that he will still be able to wear the pants or shoes in a year or so.  The tunic (unless his arms grow) should fit until he fills out (which won’t be for a while), so I’m going to try and make it as accurate as I can 🙂 .

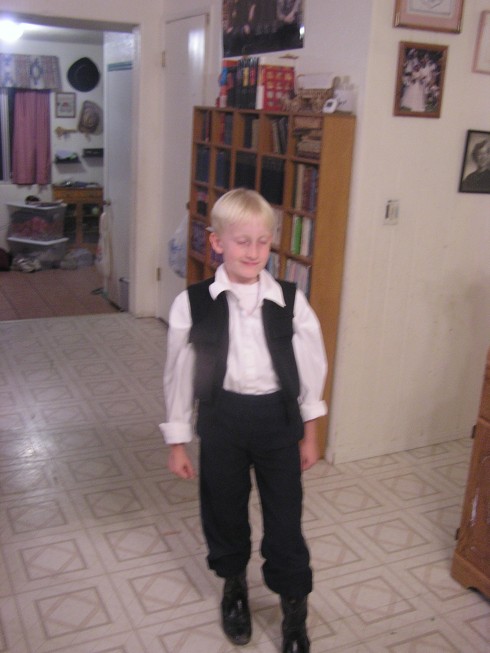
My 8 yr old brother gets a Han Solo costume.  Well, he gets an Han Solo inspired costume.  He is still in his growing time, so anything I make for him this year won’t fit him next year, so I’m not interested in putting a ton of effort into something that I’m going to end up either storing or selling.  Course, if I sell it, then I do want it to be high quality 😛 .

Anyway, for the Han Solo costume, I’m make a vest and boot covers and a velcro bloodstripe.  So the first thing I’m working is the vest.  Han’s vest is the strangest thing I’ve ever seen.  The ANH vest appears to never close or even meet, almost as if it’s a size too small.  And it comes up all the way to the neck.  So what I did was take a pattern I had on hand of a boy’s vest and shirt.  I put the shirt over the vest for the high neck and then cut the rest of the vest as it was.  Then I sewed up the side and shoulders seams and slipped it on the subject.
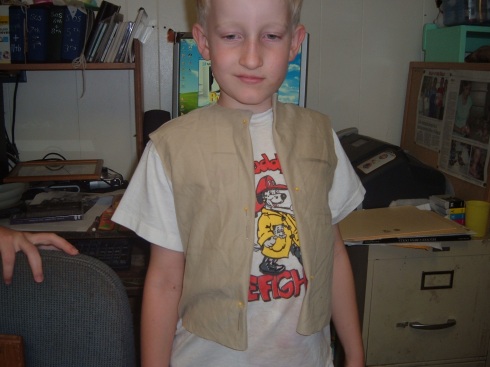
The cutest Han ever 🙂

I tucked under the front of the vest so that it looked right in front and then started drawing the pockets onto the muslin, at least, the pocket placement.  I didn’t want to make the pockets till I had tried the vets on him so that I knew where they went and how big to make them.  Now I’m pretty sure I like how it is.

Then I did the back and realized that the vest was just WAY to big for him.  So I turned it inside out and pinned it in so that it fits and looks good at the same time.  And it really looks like Han’s vest now 🙂 . Unfortunatly I didn’t get any pictures of the front after I fit it, but I do have pictures of the back (which was where it was most obvious that it didn’t fit 😛 ).

The huge back before I fitted it

And the fitted back with the drawing lines for the back pocket things

So I’m very pleased with the Han vest and the next thing to do is cut out and test the pockets and start searching for some black fabric, probably duck cloth or any other heavy weight fabric.  The rest of the costume (the shirt and pants) I probably will get from a thrift store or something.  And I’ll make some cool vinyl boot covers and a blood stripe I’ll sew on a piece of denim backed with velcro for easy attaching and removing (so that the pants can be worn with other costumes too 🙂 ).

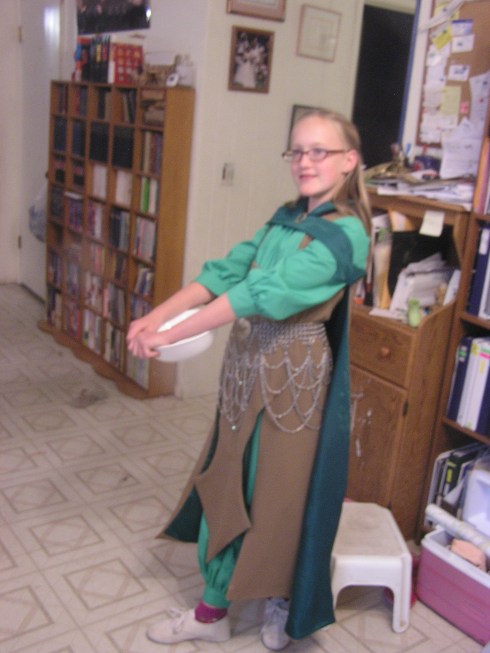
Now for my 11 yr old sister, she wants a completely original costume based off a drawing my 18 yr old sister made.  The drawing is a concept for a wood elf from Mirkwood and looks really cool.  The base of the costume is a peasant blouse with harlem pants, covered by a fitted jumper (probably laced up the back), and a half cloak.  The jumper, blouse, and pants are fairly straight forward and easy, but the cloak is very interestingly designed.

The Mirkwood elf. Notice the cloak fastening.

If you will please note from the above picture, the cloak doesn’t come around like your average cloak.  After discussion with the artist, it was decided that the cloak is just in the back, with just the band across the front.  This leaves the front of the wearer clear for doing a variaty of things, while still have the flowy look of a cloak.

Well, as you could guess, there aren’t any patterns for this kind of cloak 🙂 .  Oh, there are cloak patterns and I have one that will work nicely for the back, but that band across the front is something totally new and different.  So the first thing we did was litterally draw the band onto the 11 yr old.  I pinned a piece of drafting paper to the 11 yr old and proceded, with the 18yr old’s help, to draw the shape of the band on the paper, in proportion to the final wearer.

The 11 yr old getting her pattern drafted by the 18 yr old

It actually turned out pretty good and it was a great help to have the original artist right there to give advice and help.

The back of the band. This part attaches to the cloak and holds it on to the wearer

So that was my sewing adventure of the day 😉 .  And I also got my Jedi tunic muslin recut, with room for my hips, and the tabbard pattern redrawn.  All in all a good day.

And if you hung on through this whole post, I applaud you.  It’s not everyone who can read through a long, boring blog post about sewing and cutting and drafting costumes 🙂 .